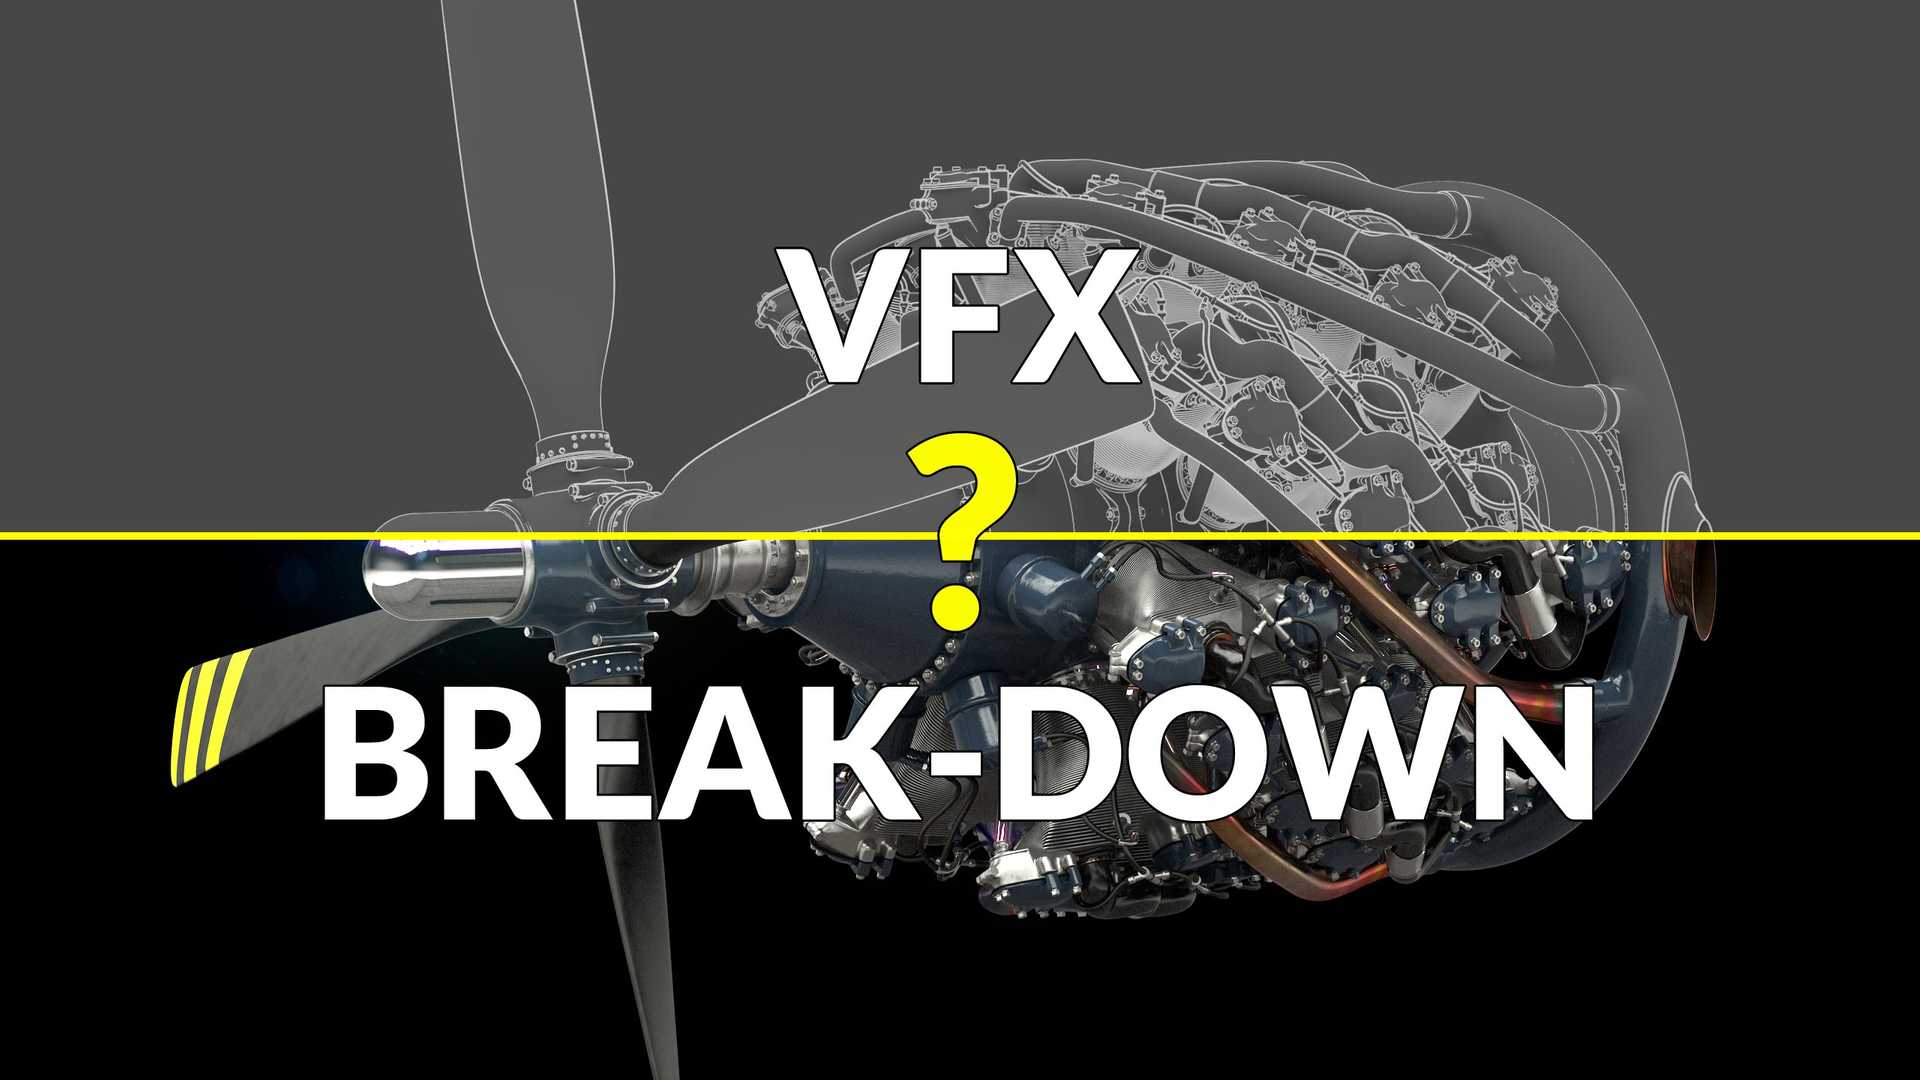
How is it done?..And why make images this way?
As you have a look at the video [coming soon], and through the rest of this article, you might notice something pretty cool; we have total creative control over every aspect of the image we are showing you! This can be a great option if you want to achieve a specific end look for your product film, such as targeting a certain audience response, or matching aspects of a brand image.
Just the model
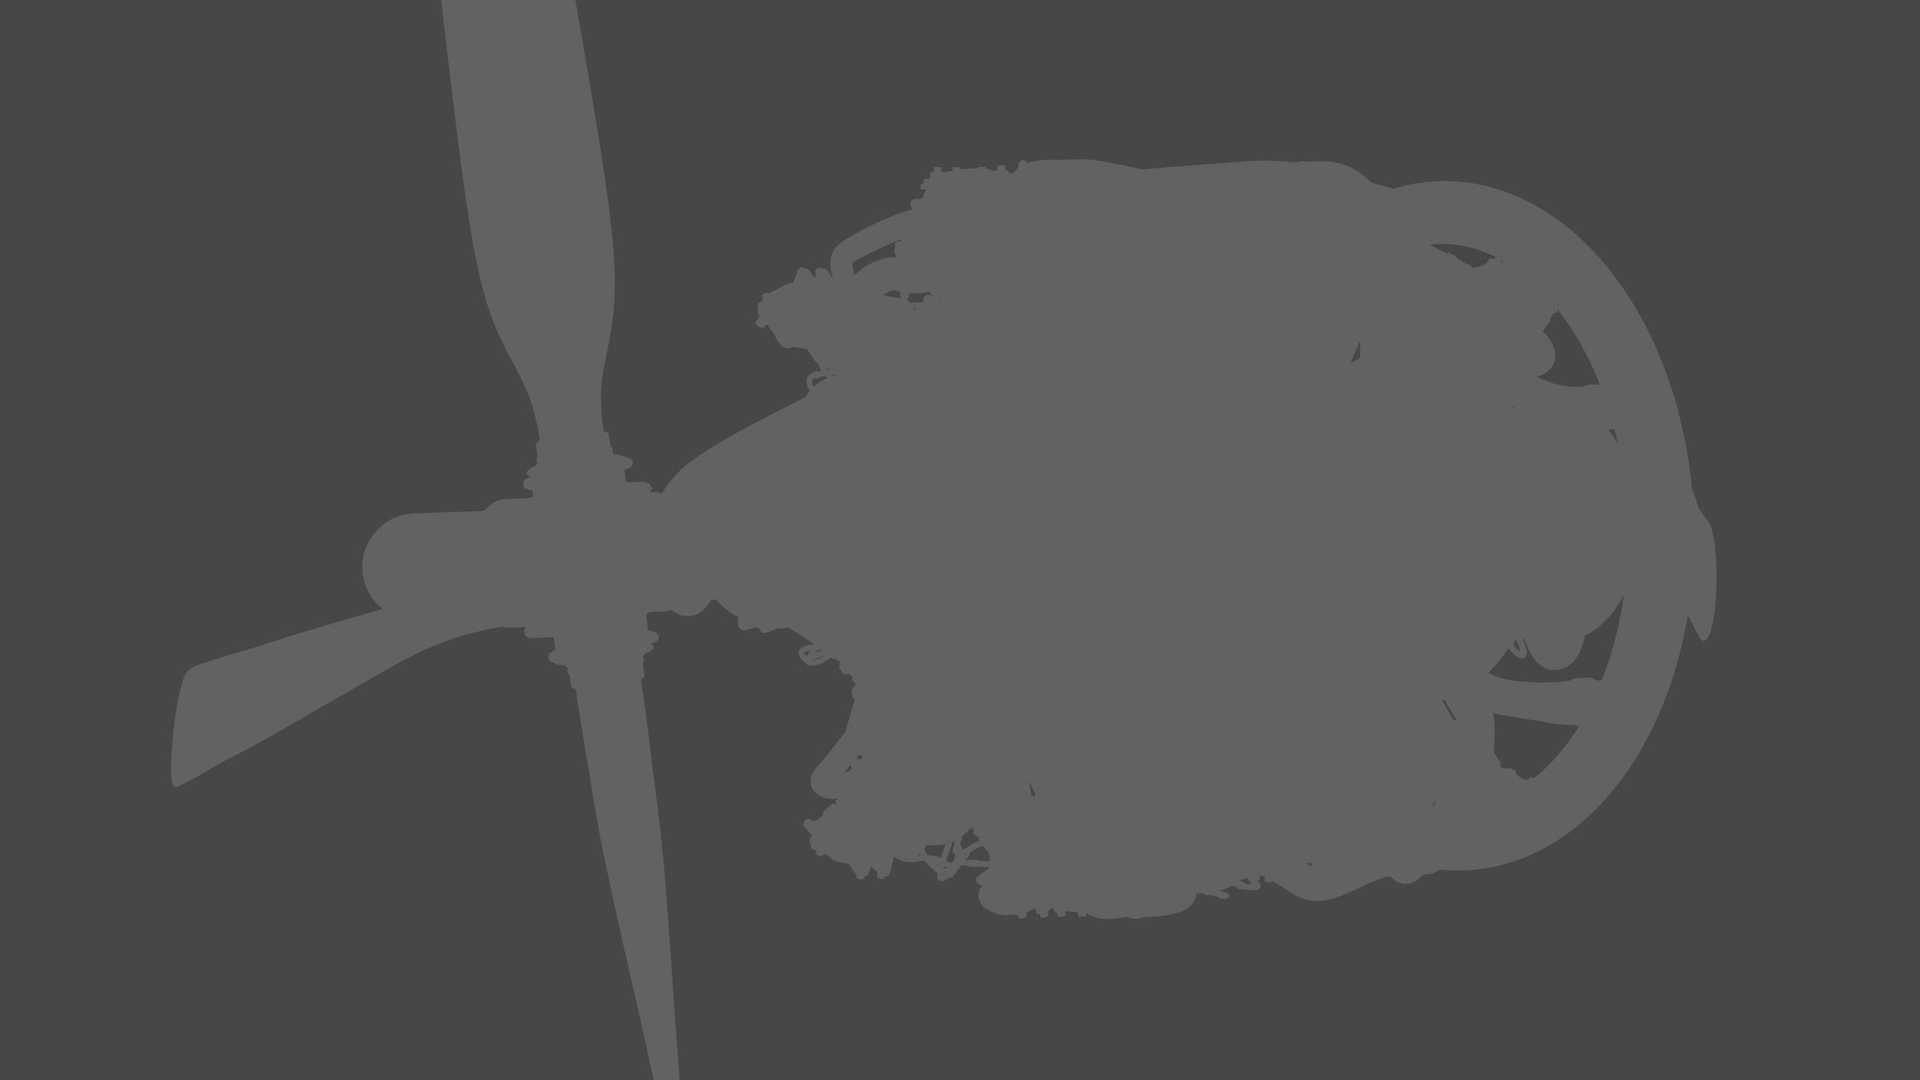
So here is our finished model without any materials or lighting yet. To get this far it takes a lot of research and days of modelling time. Even at this blank and boring looking stage, this model is built from almost 88 million (87,900,000) triangles.
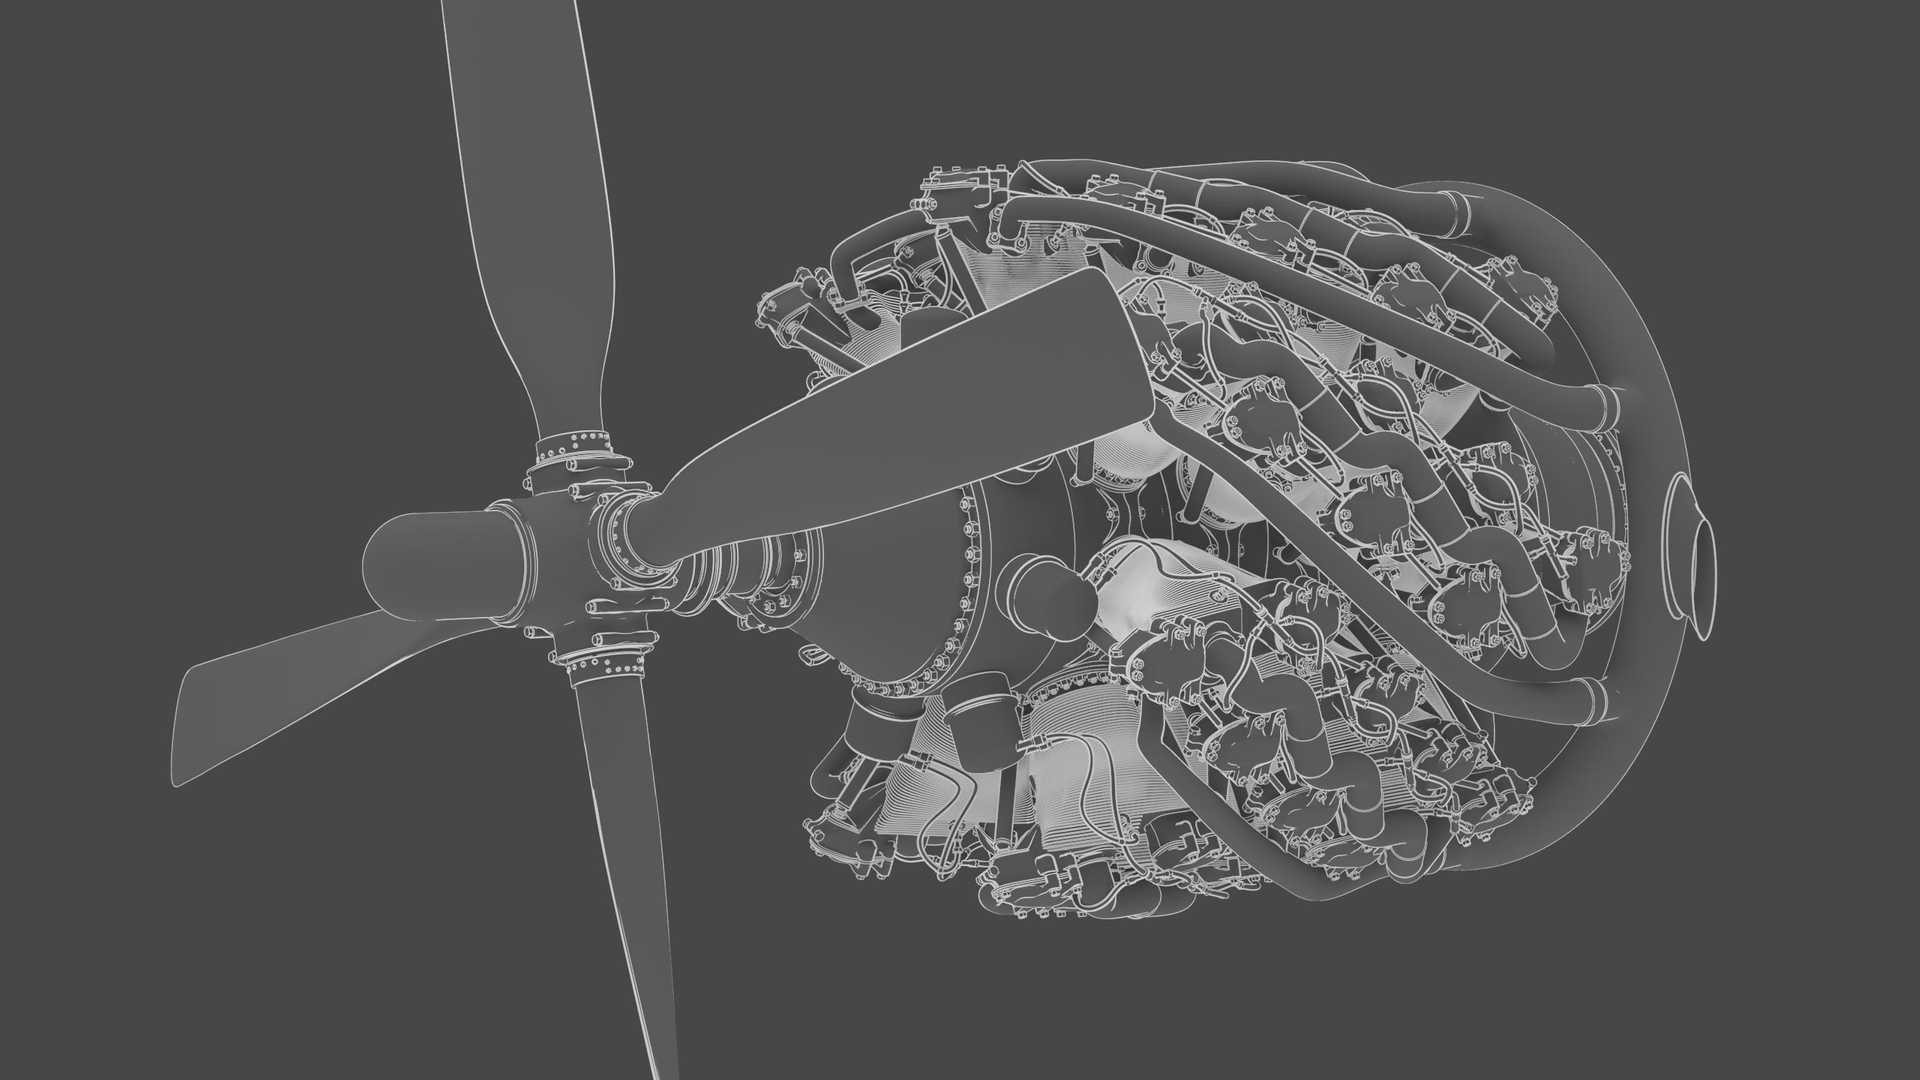
Details
Let’s add a wireframe so that you can actually see what’s going on here!
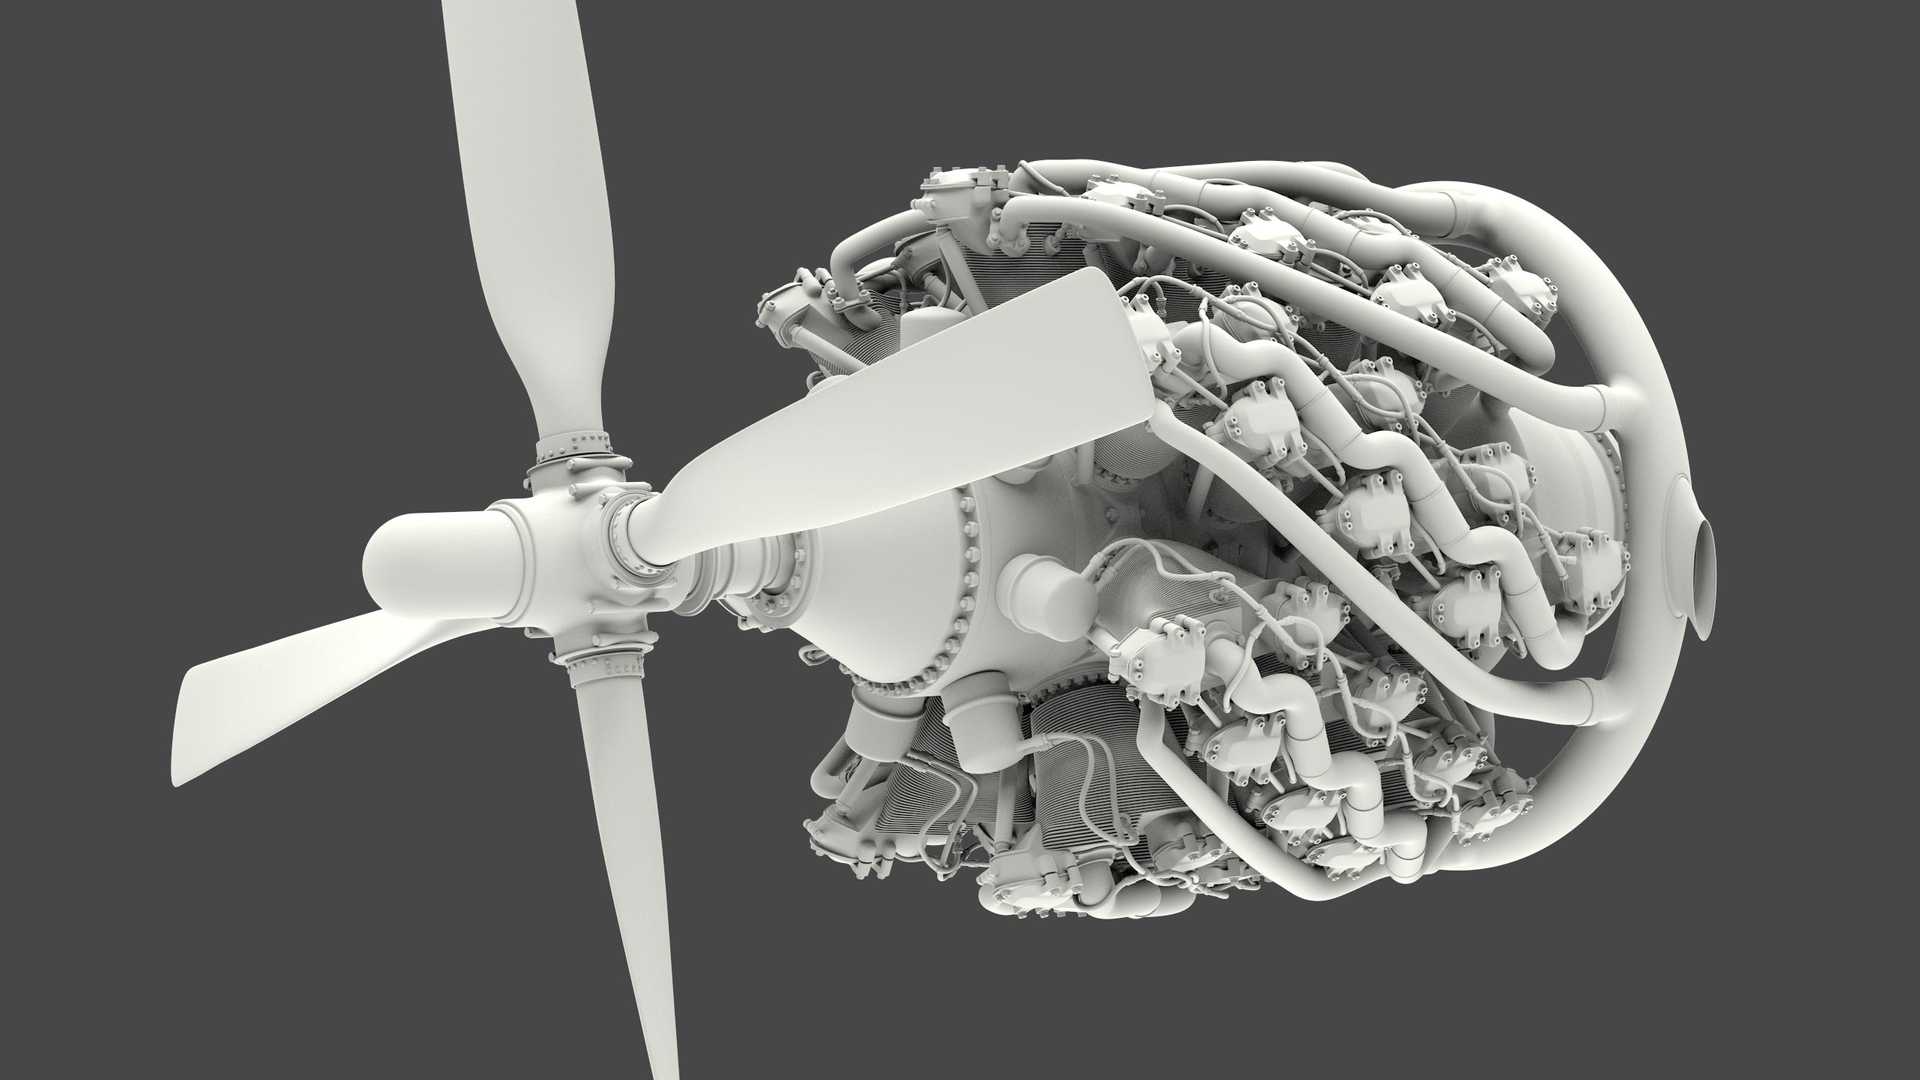
More Details, with shadows!
We then calculate one of the most time-consuming element of the image, global illumination, or GI. This generates the realistic lighting and shadows that come from the environment. In short, these detail shadows give our models depth, and the more natural and tangible look let them more easily fit into their surroundings in an image. In this case, our environment is a 360-degree virtual reality painting of the inside of an aircraft hangar, filled with studio lights giving an off-white warm glow. As well as giving us some nice detailed shadows, it will give fantastic looking reflections in a later step.
Colour! The flat kind.
Technically, the colour layer is just a very non-glossy reflection, but it is so diffuse that as a rule, we calculate it under a generalised set of much faster operations. Long story short, this gives us better creative control and speeds up the rendering.
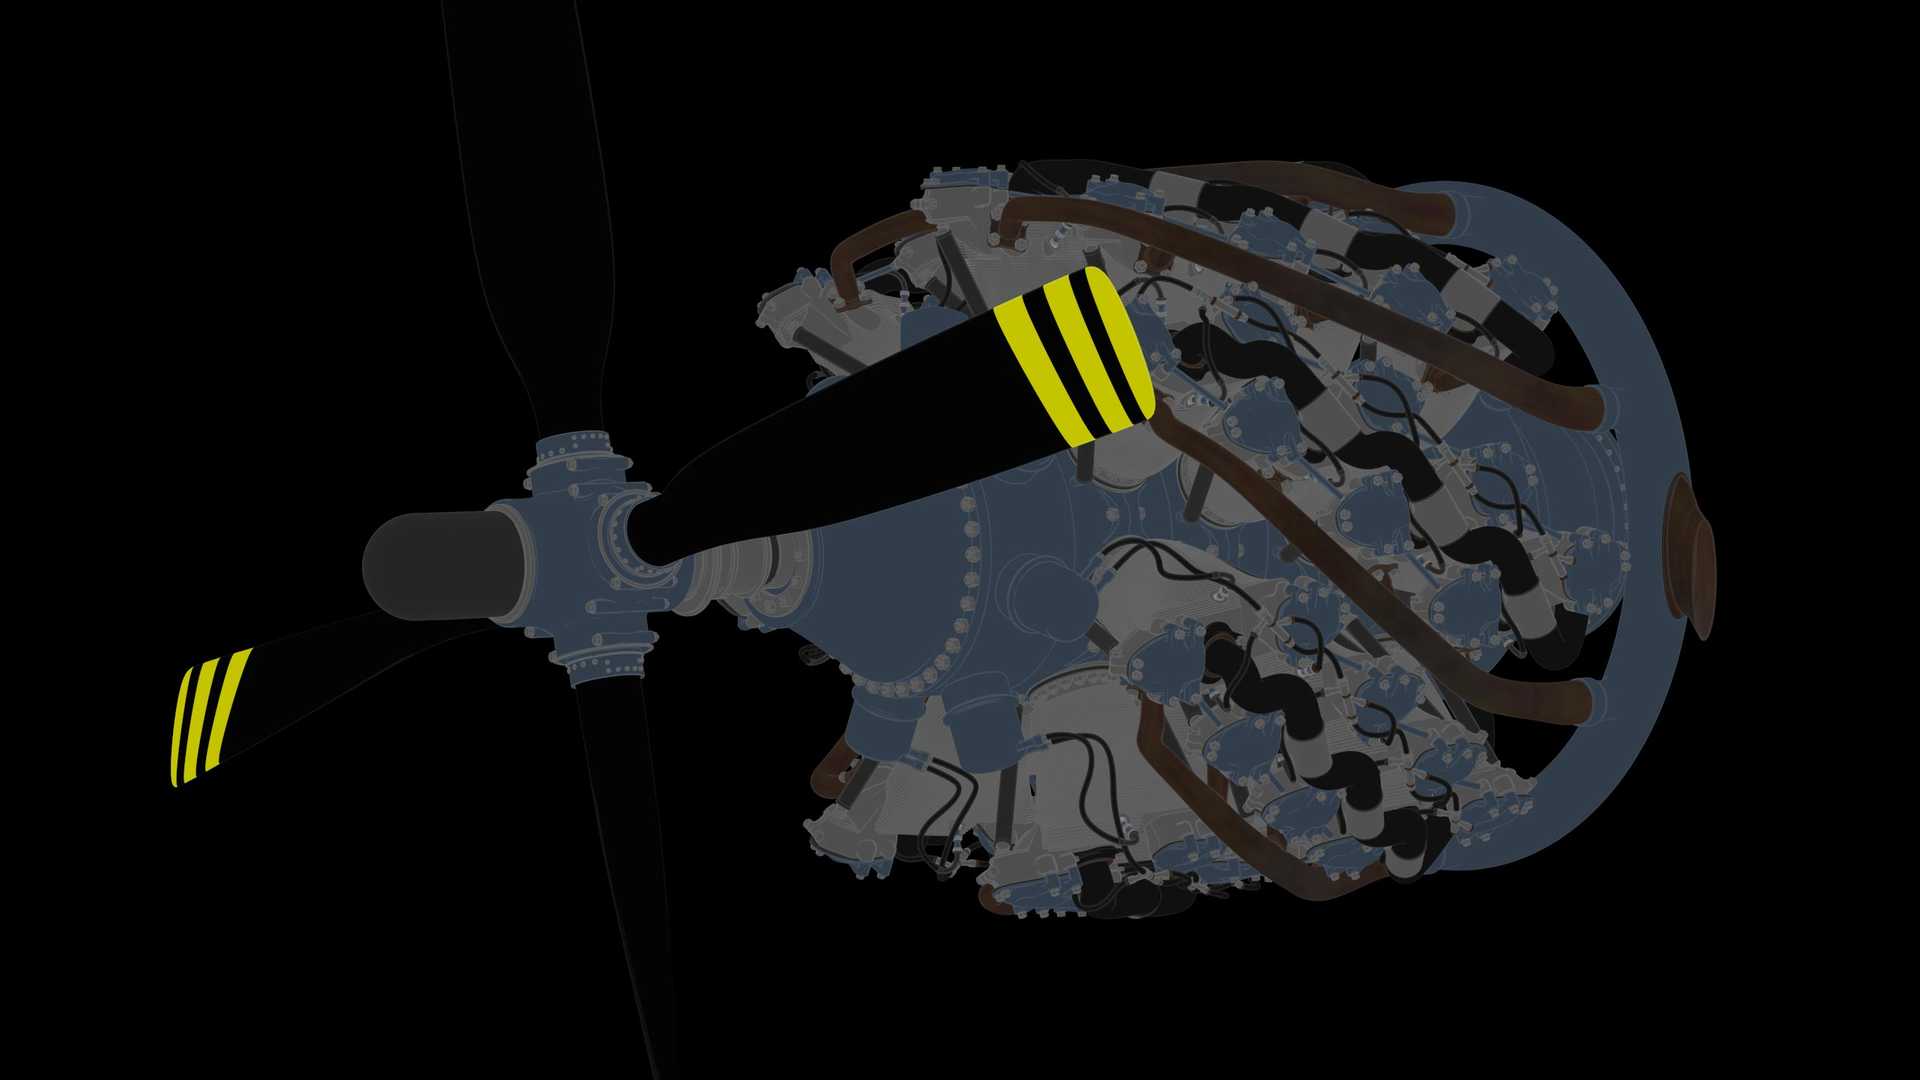
Reflections
Lastly, we add reflections where needed, all controlled with mathematical patterns to create variations and surface imperfections for a more convincing image.
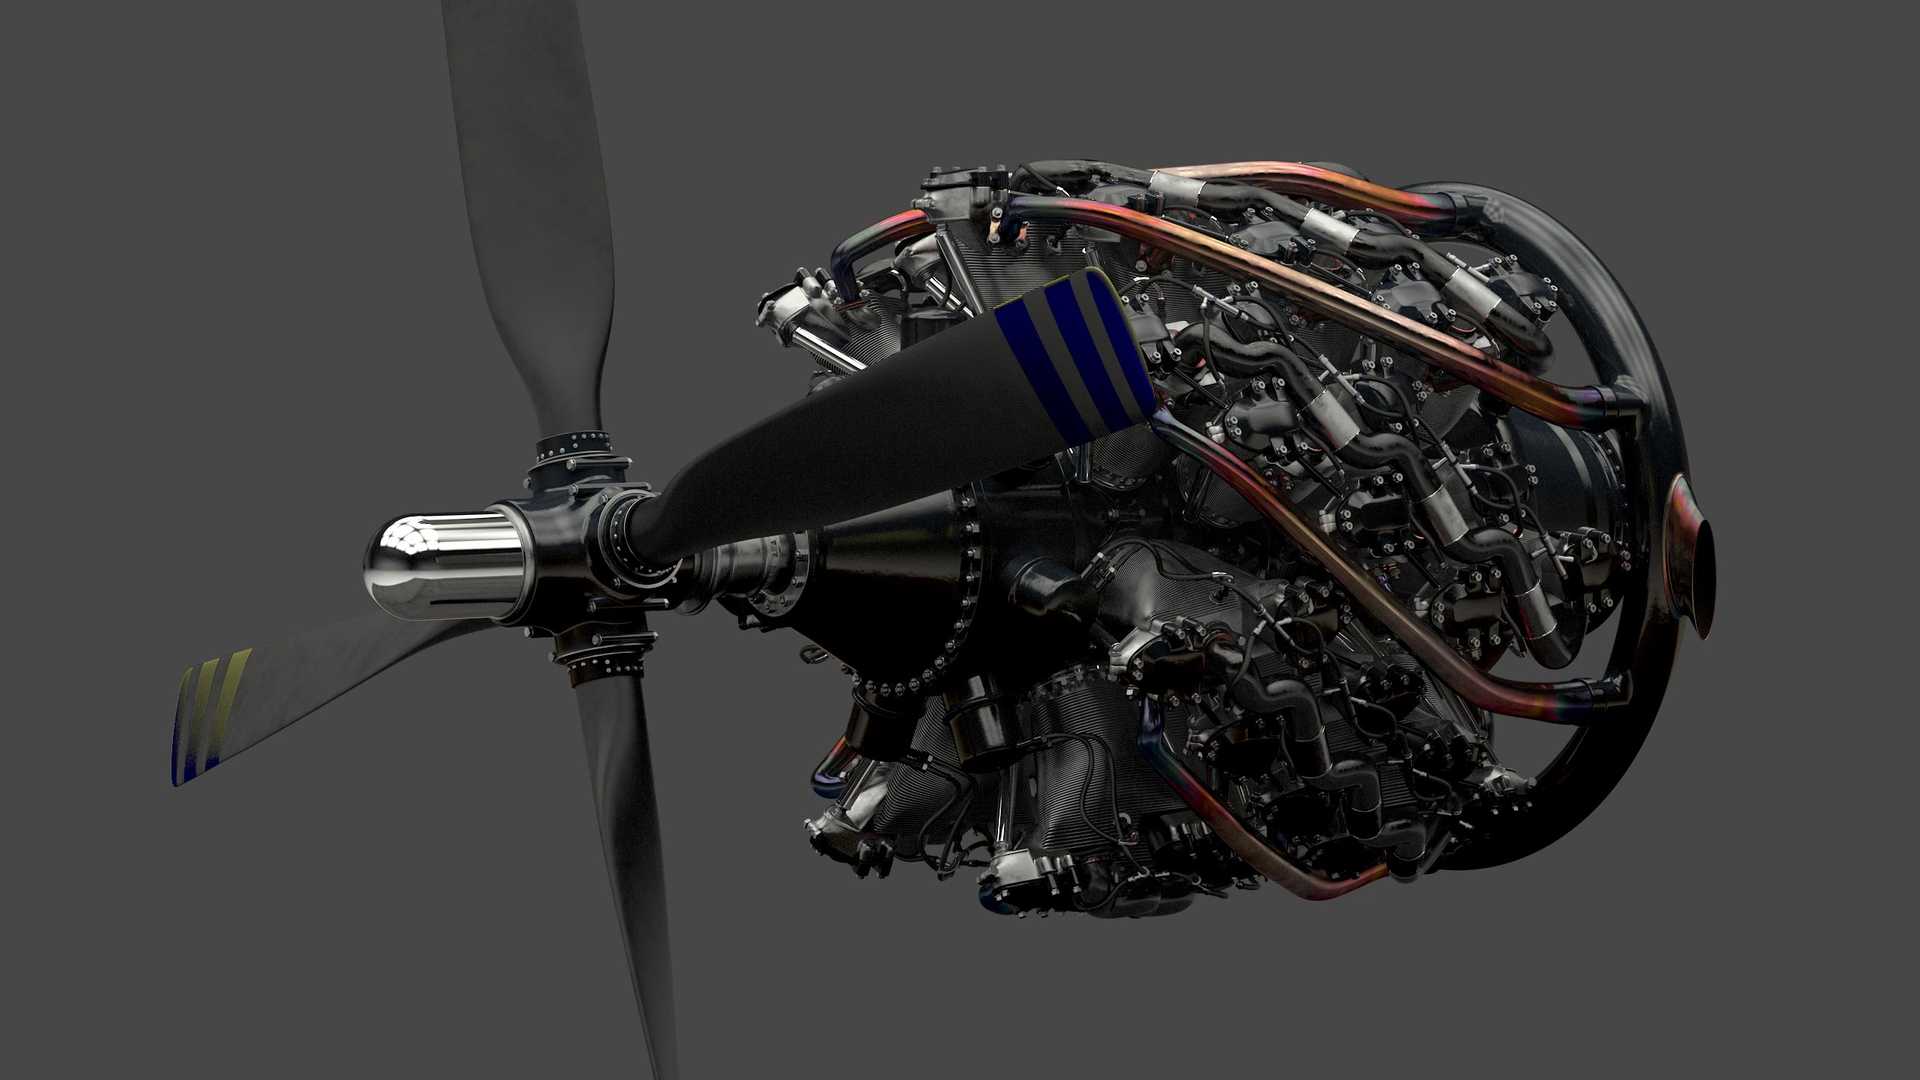
The finishing touches
Lastly, we bring all our finished layers of imagery into a 2D image compositor to join them all together (with yet more maths) and add some finishing touches. Our software can tell where an object is “brighter than white” and returning a strong light source to our “camera”. Using these areas, we can drive additional effects on the image, to mimic the effects of light, dust and dirt that you see on a real camera lens.
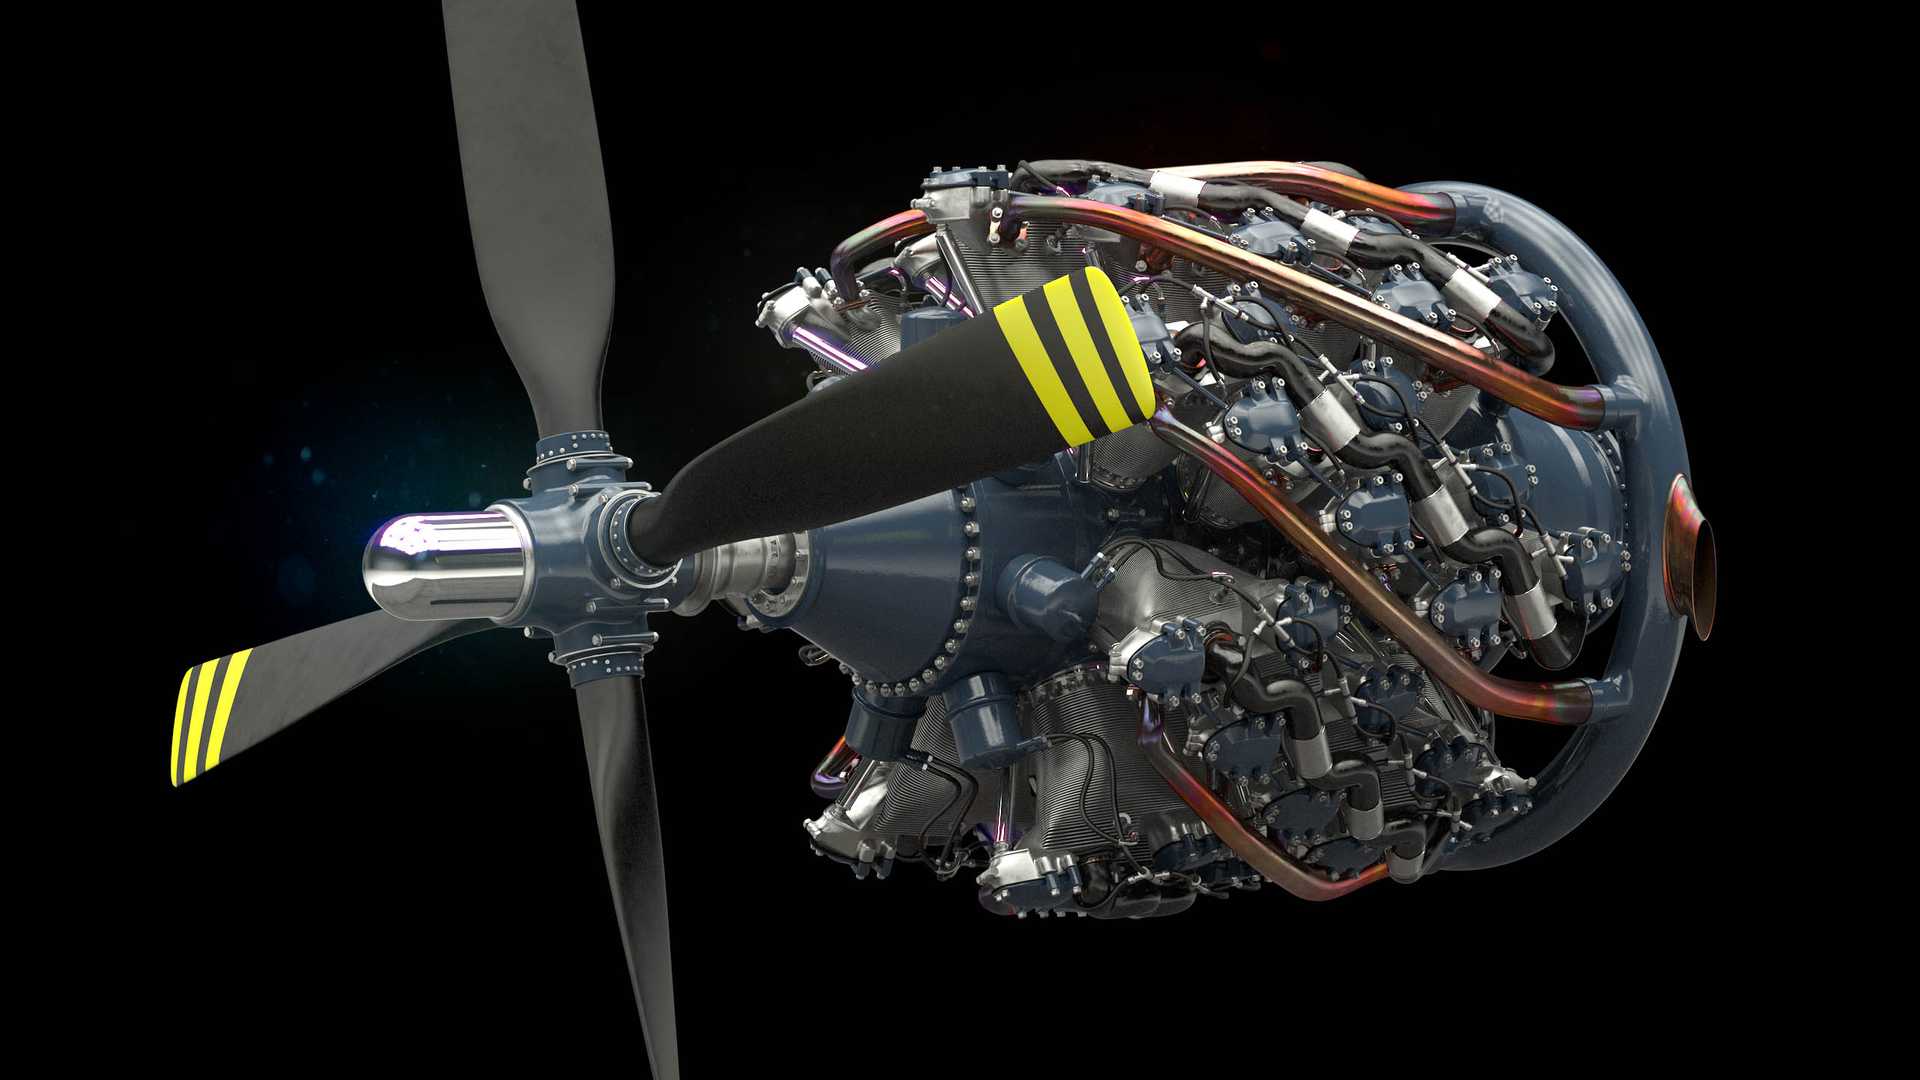
So, the whole process
(This is like, so quick compared to making one.)
- Find some reference material, plans or images
- Plan scales and dimensions to make sure everything will fit together
- Construct measurements and scales in a 3D environment
- Create a wireframe
- Create surfaces from the wireframe
- Add detail (lots of detail)
- Add lighting to make the surface look tangible
- Design materials to make the surface look real. Metal becomes metal, paint becomes paint.
- Plan Cameras Animate any motion
- Render every single frame to raw image data
- Bring all the raw data into an image processing package
- Add lighting and lens effects
- Render every single frame to normal image data
- Build video files
What next?
We hope you’ve enjoyed this quick look at how some of our imagery fits together. For more information on the Pratt and Whitney Wasp Major, take a look at our article: Reno Radials. –>